Welcome to the fascinating world of stained glass! This article will guide you through the essentials of creating your own beautiful stained glass projects, from understanding the history of this art form to mastering the necessary techniques and tools. Whether you’re completely new to stained glass or looking to refine your skills, you’ll find valuable information to help you create stunning stained glass art.
Introduction to Stain Glass
What is Stained Glass?
Stain glass is an art form where colored glass pieces are cut and assembled to form decorative designs. These glass pieces are typically held together by solder and often used in stained glass windows, lamps, or sun catchers. The process involves meticulously cutting each piece of glass according to stained glass patterns, then wrapping them with copper foil or copper tape to prepare them for soldering. Understanding the materials and techniques is crucial for anyone looking to make stained glass effectively.
History of Stained Glass Art
The history of stained glass art dates back centuries, with early examples found in ancient Roman and Byzantine structures. During the Middle Ages, stained glass windows became a prominent feature in cathedrals, serving as both decorative elements and visual narratives of biblical stories. The vibrant colors and intricate designs of these stained glass windows were achieved through carefully selected colored glass and meticulous craftsmanship. Over time, the techniques and styles evolved, but the fundamental principles of cutting and joining glass pieces have remained central to this art form.
Benefits of Creating Stained Glass
Creating stained glass offers numerous benefits, both artistic and therapeutic. Engaging in glass work allows for creative expression. The process of glass cutting, foiling, and soldering requires focus and precision, which can be a meditative and stress-relieving activity. Completing a stained glass project, whether it’s a small sun catcher or a large stained glass window, provides a sense of accomplishment and the satisfaction of producing a beautiful piece of art glass that can be enjoyed for years to come.
Essential Tools for Stain Glass Making

Glass Cutting Tools
To successfully make stained glass, you’ll need specialized glass tools for glass cutting. A quality glass cutter is essential for scoring the glass piece accurately. Different types of glass cutters are available, including those with oil reservoirs for smoother cuts. A running plier is used to apply pressure to the scored line and separate the piece of glass cleanly, ensuring the cut pieces fit perfectly in your stained glass and fused glass. Always hold your glass securely during this process.
Types of Solder and Their Uses
Solder is vital to holding the glass pieces together in stained glass art. Different types of solder are available, each with varying melting points and compositions. A 60/40 solder (60% tin, 40% lead) is commonly used for its ease of use and smooth finish. Flux is also necessary to clean the copper foil and ensure the solder flows properly, creating strong and visually appealing solder bead lines. The choice of solder can impact the strength and appearance of the finished stained glass panel, so selecting the right type is crucial for making stained.
Foil vs. Copper Foil Techniques
Copper foil is a technique where each stained glass piece is wrapped with copper tape before soldering. The copper foil provides a surface for the solder to adhere to, holding the glass pieces together and creating a strong, lasting bond. Precision is key when applying copper foil; the foil should be centered on the edge of each glass piece with consistent overlap on both sides. An alternative method involves using a lead came, which fits around the glass and fused glass, especially for large pieces or intricate stained glass patterns. The choice between foil and lead came depends on the stained glass project’s design and desired aesthetic.
Stained Glass Patterns and Design
Choosing the Right Stained Glass Patterns
Selecting the right stained glass patterns is a crucial first step. For those new to stained glass, starting with simpler patterns that have fewer glass pieces and straight lines is advisable. Easier patterns allow you to focus on mastering the glass cutting and soldering techniques without being overwhelmed by intricate designs. Consider the size and complexity of the stained glass project; a small sun catcher or picture frame will be much more manageable than a large stained glass window initially.
Creating Your Own Stained Glass Patterns
Once you’re comfortable with basic stained glass techniques, you can start creating your own stained glass patterns. Sketch your design on paper, paying attention to the lines and shapes. Break down the design into individual glass pieces that can be easily cut and assembled. When making stained, ensure that each piece of glass has smooth, flowing lines to facilitate easier glass cutting. Use a light box to trace the pattern onto your glass, making sure all the pieces fit perfectly before you begin the cutting process. You may also want to add small registration marks that help you hold the pieces in place as you assemble your stained glass panel.
Incorporating Art Glass into Your Designs
Incorporating art glass into your designs can elevate your stained glass art to a new level. Art glass refers to specialty glass with unique textures, colors, and patterns, adding visual interest and depth to your stained glass panel. Experiment with different types of art glass to achieve various effects, such as iridized glass for a shimmering appearance or textured glass for added dimension. When making stained, consider how the light will interact with the art glass, enhancing the beauty of your stained glass window, lamp, or other stained glass project.
Techniques for Making a Stained Glass Panel
Glass Cutting Techniques
Mastering glass cutting techniques is essential. Ensure your glass cutter is sharp and properly lubricated. Hold your glass cutter firmly and score the glass piece with consistent pressure along the pattern lines. A smooth, continuous score is crucial for a clean break. Use running pliers to apply gentle pressure to the scored line, separating the glass piece without shattering it. Practice on scrap glass to refine your technique before working on your actual stained glass pieces.
Fitting Pieces Together
Fitting pieces together accurately is key to creating a professional looking stained glass project. After cutting each glass piece, use a grinder to smooth the edges and ensure they match the pattern. Check the fit of each piece of glass on your pattern, making adjustments as needed. Applying copper foil to each piece of glass requires precision; center the copper tape on the edge of each piece with equal overlap on both sides. The copper foil provides a surface for the solder to adhere to, holding the pieces together securely. Clamps or a jig can also help hold the pieces in place during the soldering process.
Using a Square for Precision
Using a square is vital for maintaining precision and accuracy. A square helps ensure that your stained glass panel has straight edges and that the corners are perfectly aligned. When creating a stained glass window or picture frame, use a square to check the angles and measurements of each glass piece. This ensures that all the pieces fit perfectly together and that the final stained glass project is structurally sound. Using a square will give your glass work a professional finish.
Developing Stained Glass Skills
Common Challenges for Beginners
When you are new to stained glass, you’ll likely encounter several common challenges. One frequent issue is mastering the glass cutting technique; achieving a clean, consistent score can be difficult initially. Getting the glass pieces to fit perfectly is another hurdle, often requiring patience and precise use of the glass grinder. Soldering neatly and creating smooth solder bead lines can also be tricky. Remember to practice regularly and seek guidance from experienced glass workers to overcome these obstacles as you make stained glass and fused glass.
Tips for Improving Your Stained Glass Skills
To improve your stained glass skills, focus on consistent practice and attention to detail. Spend extra time perfecting your glass cutting technique by practicing on scrap pieces of glass before working on your project. Ensure your glass cutter is sharp and properly lubricated for smooth scores. When fitting the glass pieces together, use a grinder to refine the edges and achieve a perfect fit. Apply copper foil evenly to each piece of glass, ensuring it’s centered with equal overlap. Seek feedback from experienced artists and attend workshops to learn new techniques as you make stained glass.
Finishing Touches: Framing Your Stained Glass Art
Choosing the Right Picture Frame
Selecting the right picture frame is essential for showcasing your stained glass panel effectively. Consider the style and colors of your art glass when choosing a frame. A simple, understated frame can complement the stained glass piece without overpowering it, while a more ornate frame can add a touch of elegance. Ensure the frame is sturdy enough to hold the weight of the glass work and that it fits the dimensions of your stained glass art. A well-chosen frame can enhance the beauty and impact of your sun catcher or lamp.
Techniques for Securing Your Stained Glass Panel
Securing your stained glass panel properly in the frame is crucial for both safety and aesthetic appeal. Use glazing points or flexible tabs to hold the glass piece securely within the frame. Ensure that the glass piece is centered and evenly supported to prevent shifting or breakage. For larger pieces or those that will be displayed in high-traffic areas, consider adding additional support, such as a backing board or adhesive. Proper installation will protect your stained glass art from damage and ensure it can be enjoyed for years to come.
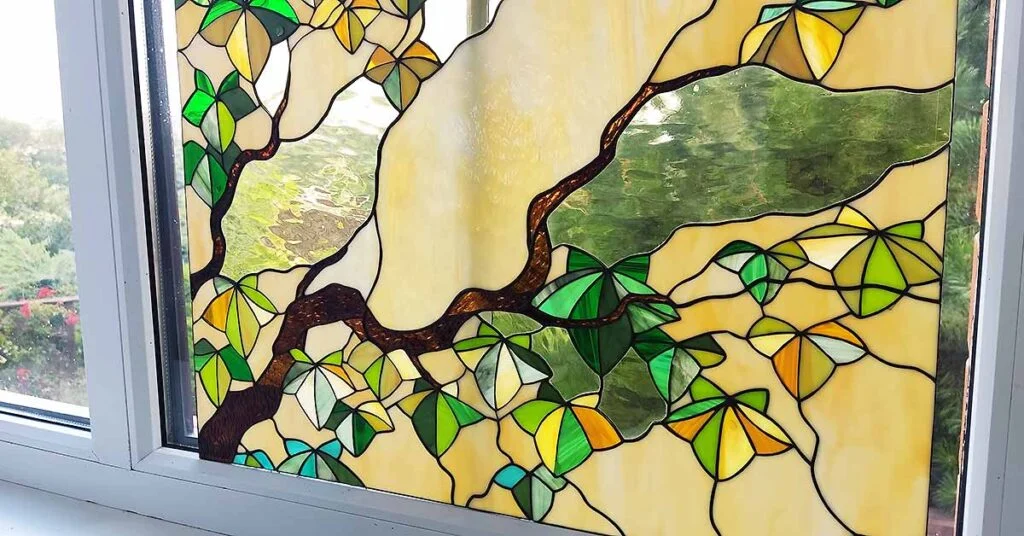
Displaying Your Stained Glass Art
The way you display your stained glass art can significantly impact its visual impact. Stained glass windows look best when backlit by natural light, allowing the colors and patterns to shine. Consider hanging your sun catcher near a window to capture the sunlight, or displaying your lamp in a well-lit room. Experiment with different placements and lighting options to find the best way to showcase the beauty of your glass work. Whether you choose to hang your stained glass piece on a wall or display it on a stand, make sure it is securely mounted and easily visible to fully appreciate your beautiful stained glass project and art glass pieces.