Headpins and eyepins are fundamental components in jewelry making, acting as essential connectors and design elements. Mastering their use unlocks a world of creative possibilities for both beginner and experienced jewelers alike. This guide dives deep into the world of headpins, providing a comprehensive understanding of their various types, uses, and techniques for incorporating them into your jewelry designs.
Understanding Headpins and Eyepins in Jewelry Making
What are Headpins and Eyepins?
Headpins and eyepins are slender pieces of wire, usually crafted from metal like sterling silver, copper, or brass, that serve distinct purposes in jewelry making. A headpin features a “head” at one end, acting as a stopper to prevent beads from sliding off. Eyepins, on the other hand, have a loop at one end, allowing them to be linked together or connected to other jewelry components. Both headpins and eyepins are essential for creating dangles, bead links, and connectors in your designs.
Differences Between Headpins and Eyepins
The key difference between headpins and eyepins lies in their ends. Headpins have a closed end, or head, that acts as a barrier, preventing beads from sliding off the wire. This makes them ideal for creating single-strand dangles or embellishments. Eyepins, with their open loop, are designed for connecting multiple components. The eyepins allow for the creation of chains, bead links, and more complex jewelry structures. Both utilize forming wire in various ways.
Types of Headpins: Ball, Flat, and More
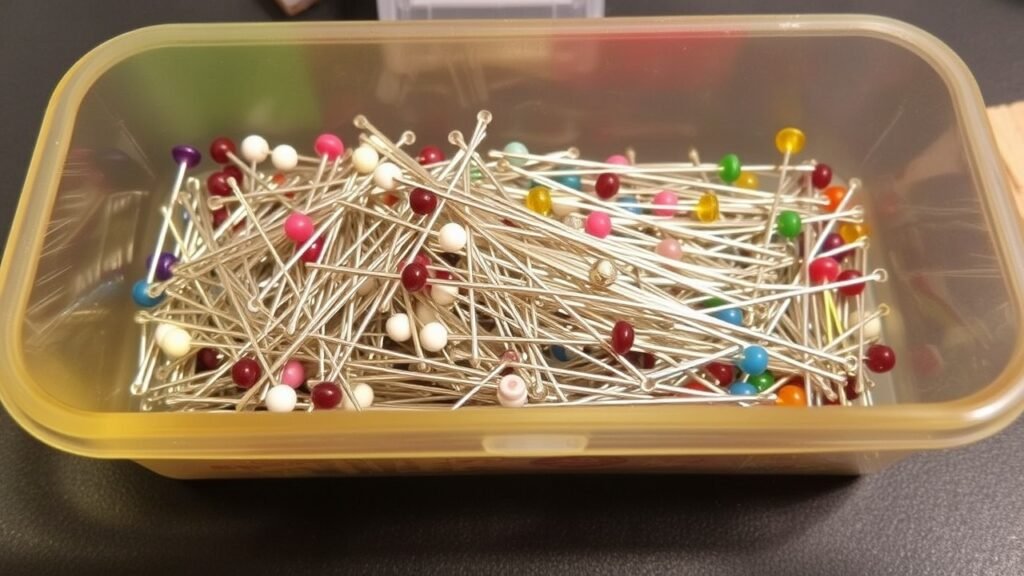
Headpins come in a variety of styles, each offering unique design possibilities. Ball headpins are perhaps the most common, featuring a small, round ball at the tip. Flat headpins have a flattened disc instead of a ball, providing a different aesthetic and a larger surface area. There are decorative headpins with various shapes, adding intricate detail to your jewelry. You can even make headpins by melting silver wire with a torch! The length and gauge wire of the headpin will also influence its use. The type of finish, such as sterling silver or copper, further affects the overall design.
Essential Tools and Materials for Using Headpins
Choosing the Right Gauge Wire
Selecting the correct gauge wire is crucial when working with headpins in jewelry making. The gauge wire refers to the thickness of the wire; a lower gauge number indicates a thicker wire, while a higher number signifies a thinner wire. The appropriate gauge wire will depend on the size and weight of the beads you plan to use, as well as the desired strength and flexibility of your design. For delicate beads with small holes, a thinner gauge wire is essential to ensure the wire can pass through easily. Conversely, for heavier beads or charms, a thicker gauge wire will provide greater support and prevent the headpin from bending or breaking under the weight. Consider the overall design of your jewelry and choose the gauge wire that will best complement both the beads and the aesthetic you are aiming for. Gauge wire impacts the professional finish of the piece.
Types of Beads for Headpins
The type of beads you choose to use with headpins will significantly impact the overall design and aesthetic of your jewelry. Smaller beads are ideal for creating delicate dangles or intricate patterns, while larger beads can serve as focal points or statement pieces. Glass beads, with their vibrant colors and varied shapes, offer endless possibilities for creativity. Stone beads provide a more natural and earthy feel, adding texture and depth to your designs. Metal beads can introduce a touch of elegance and sophistication, especially when paired with sterling silver or copper headpins. The hole size of the beads is also an important consideration, as it will determine the gauge wire of headpins you can use. The beads onto the head pin should slide freely for a professional finish.
Working with Sterling Silver and Other Materials
When working with sterling silver headpins, it’s important to consider its properties and characteristics. Sterling silver is a precious metal that offers a beautiful shine and durability, making it a popular choice for high-quality jewelry. However, it can tarnish over time, so proper care and maintenance are essential to preserve its luster. Other materials commonly used for headpins include copper, brass, and steel wire. Copper offers a warm, reddish tone, while brass provides a golden hue, each adding a unique aesthetic to your jewelry designs. Steel wire is a strong and durable option that is ideal for projects requiring extra strength. When combining different metals, consider the color combinations and how they will complement the beads you have chosen. Experimentation with different metal types can add depth and visual interest to your creations. Using sterling silver can add a quality finish to the jewelry.
Techniques for Jewelry Making with Headpins
How to Use Headpins in Your Designs
Learning to use headpins is vital in jewelry making. Headpins are the key to connecting beads and creating dangles in earrings and necklaces. When you use headpins, you can make jewelry components that are both secure and beautiful. The pin acts as a stopper, preventing beads from sliding off. By adding a simple loop at one end, you can form links to create chains or connect to other jewelry pieces. There are countless ways to use headpins in your designs, from basic bead links to complex wire-wrapped embellishments. Mastering headpins opens up creative possibilities for any jeweler from beginner to professional.
Step-by-Step Guide to Make a Loop
To make a loop with a headpin, start by sliding your desired bead onto the headpin. Using round nose pliers, grasp the wire just above the bead. Bend the wire at a 90-degree angle. Then, reposition the pliers to grasp the end of the wire and roll it towards the bead, forming a complete loop. Ensure the loop is tightly closed. Finally, trim any excess wire with wire cutters. This creates a secure and professional finish for your jewelry. With practice, you will be able to make a loop quickly and consistently. This is an essential skill to make jewelry.
Creating Open Loops vs. Closed Loops
When learning to use headpins you will soon find there is more than one kind of loop. Open loops and closed loops each have a purpose in jewelry making. A closed loop is completely sealed, providing a secure connection. You make jewelry by forming closed loops to connect beads, charms, or other components. In contrast, an open loop has a small gap, which allows you to easily add or remove elements. These are useful when you need to adjust your jewelry or swap out beads. To make a closed loop, ensure the end of the wire touches the stem of the headpin. For an open loop, leave a tiny space between the wire’s end and the stem.
Tips for Beginners: Mastering Headpins in Jewelry
Common Mistakes to Avoid When Using Headpins
Beginners often make the mistake of not using the correct gauge wire with the bead hole size when starting to use headpins in jewelry making. A wire that is too thin may bend or break, while a wire that is too thick may not fit through the bead hole. Another common error is not creating a tight loop at the end of the headpin, causing the beads to come loose. Always trim excess wire to avoid sharp edges that can scratch the skin or snag clothing. Use the right tools, such as round nose pliers and wire cutters, to ensure clean and precise bends. Beginners should remember to always wear safety glasses.
Best Practices for Bending and Securing Headpins
The best way to ensure a secure and professional finish when you use headpins is to use the right tools and techniques. Use round nose pliers to create smooth, consistent loops without damaging the wire. When bending the wire, apply steady pressure to avoid kinks or weak spots. Ensure that the loop is tightly closed to prevent beads from slipping off. If you are wire wrapped a loop, make sure the wraps are snug and even. Always trim excess wire closely to the loop to eliminate sharp edges. Practicing these techniques will help you create high-quality jewelry that is both beautiful and durable. Tight, wire-wrapped ends give a professional finish.
Inspiration: Jewelry Designs Using Headpins
If you are looking for inspiration, there are countless jewelry designs that incorporate headpins in creative and unique ways. Use headpins to create delicate dangle earrings, adding movement and sparkle to your designs. Craft elaborate bead links to form necklaces or bracelets, combining different colors, sizes, and shapes of beads. Make decorative charms that can be attached to keychains or bags. Experiment with different metal finishes, such as sterling silver, copper, and brass, to add depth and contrast to your jewelry. You can even melt silver wire with a torch to create decorative headpins. Showing how to make beautiful jewelry with headpins is a popular tutorial.